How to Post Your First Journey on Galiaraa
Share your moments, your extraordinary clicks — plus the day-by-day itinerary behind them. Here's exactly what goes into a journey post, step by step.
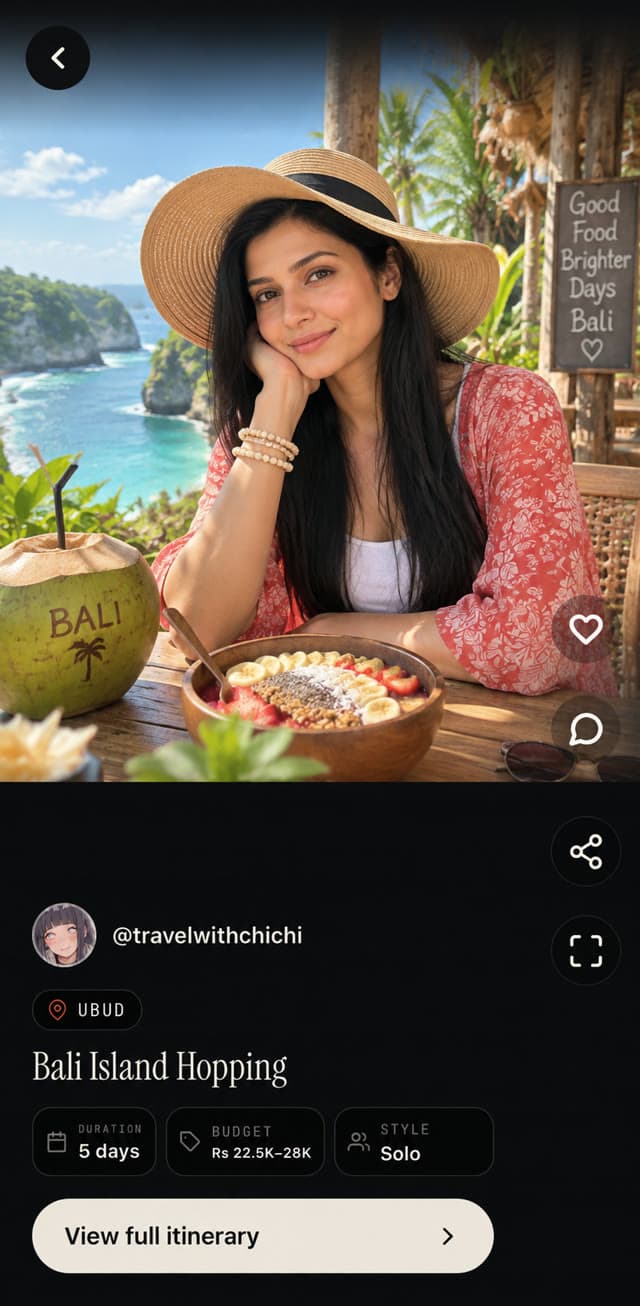
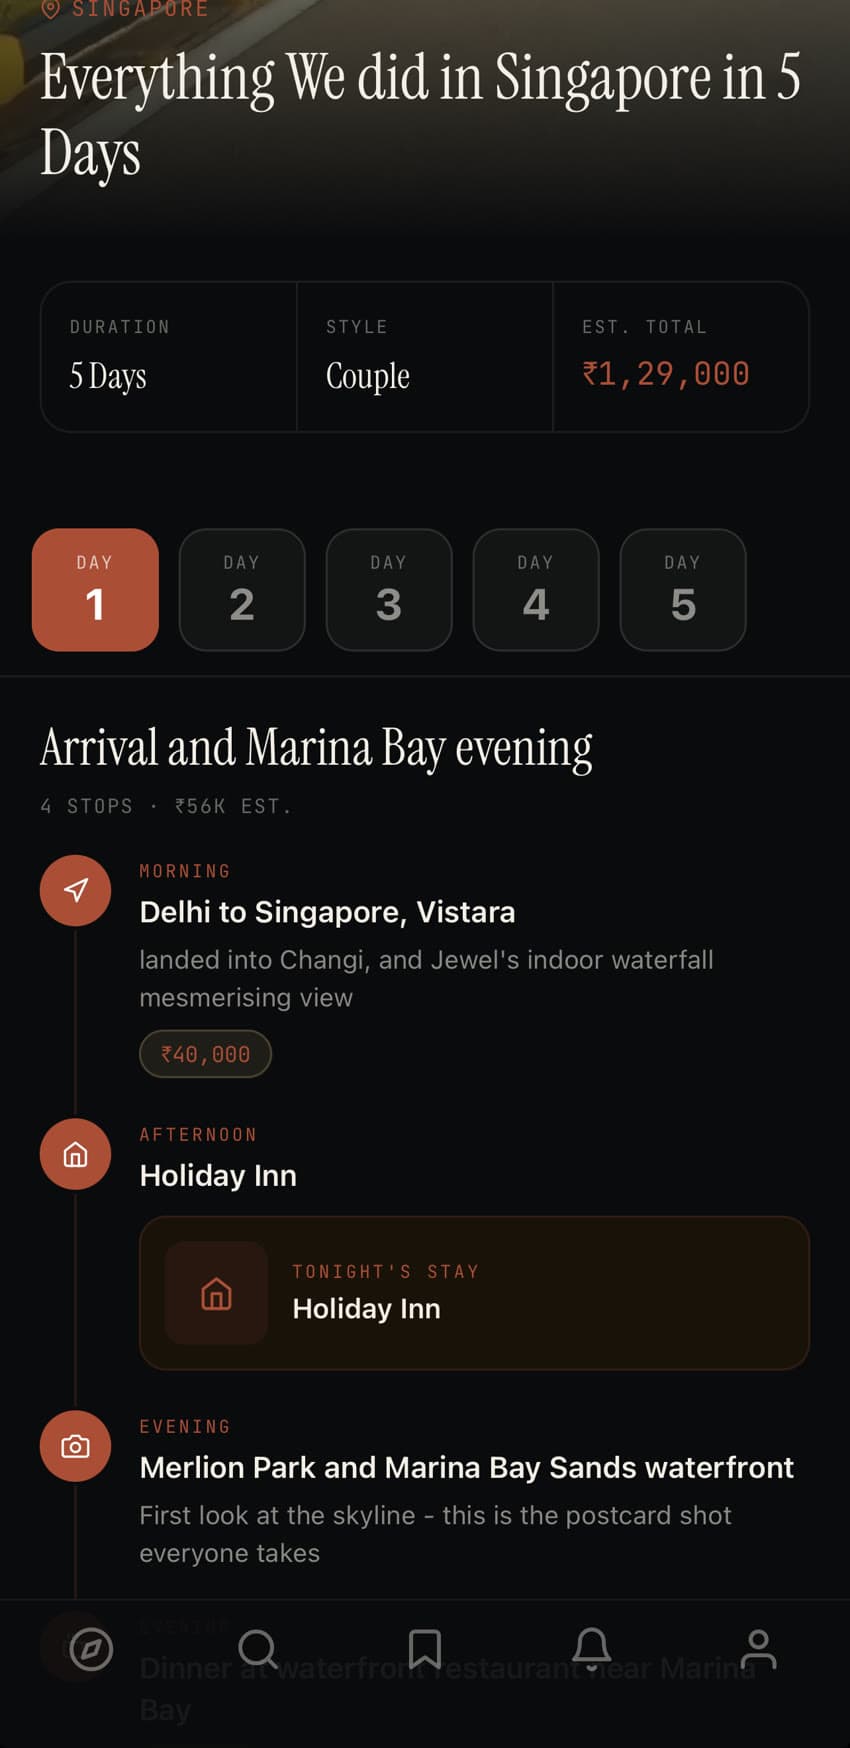
A journey post on Galiaraa has two parts, published together: your post, and the itinerary that backs it up. Neither works as well alone — the post is the story, the itinerary is the proof someone can actually use.
Share your moments
Share it however the journey actually looked — an extraordinary click, a video, or a string of moments travelers swipe through one after another. Whatever you pick, it needs to be real, not produced. Your best clips, your hidden gems, the broken air conditioning, the 4am construction noise — all of it is more useful to the next traveler than a polished highlight reel.
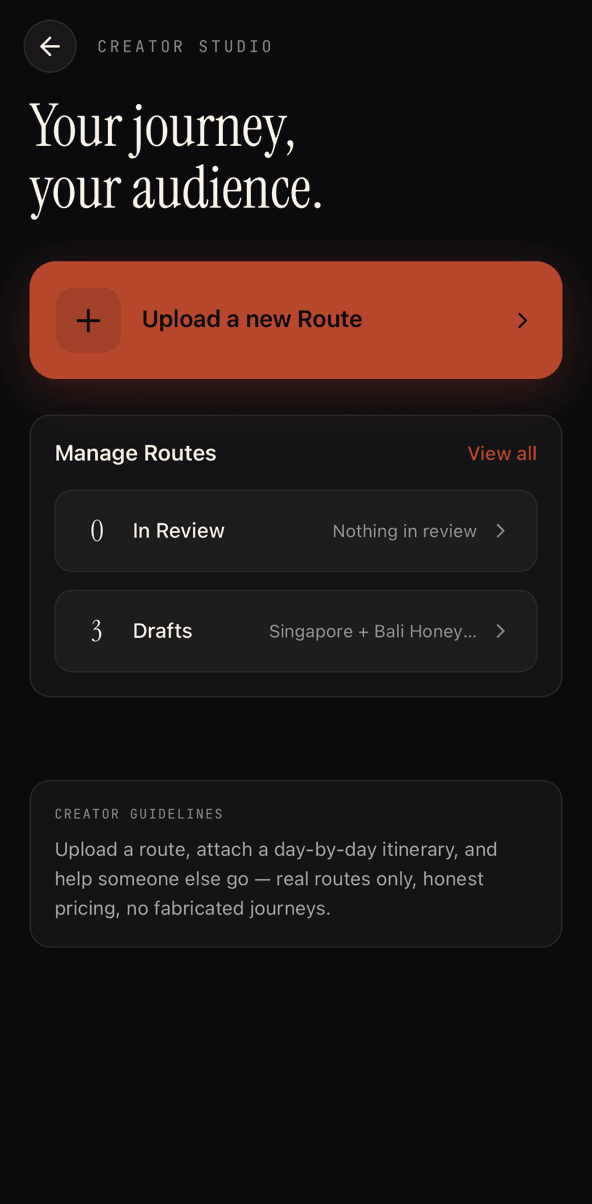
It all starts in the same place — Creator Studio, right from your profile. Tap Upload a new trip, and you're in.
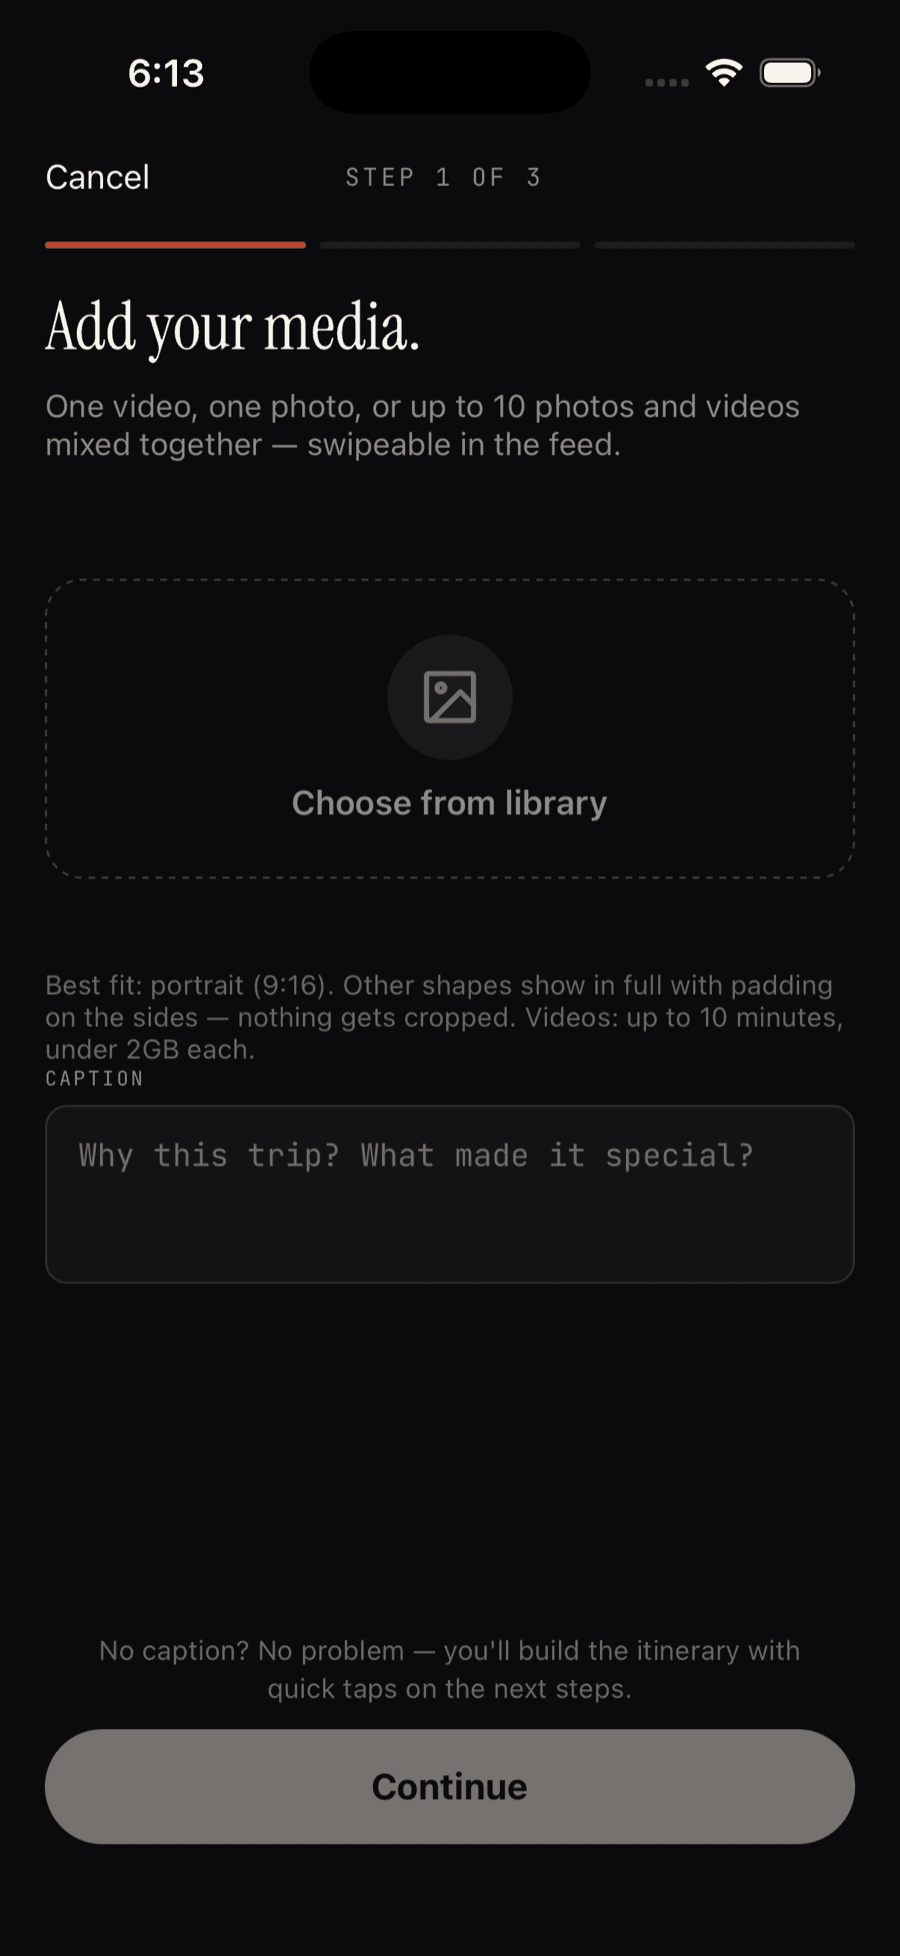
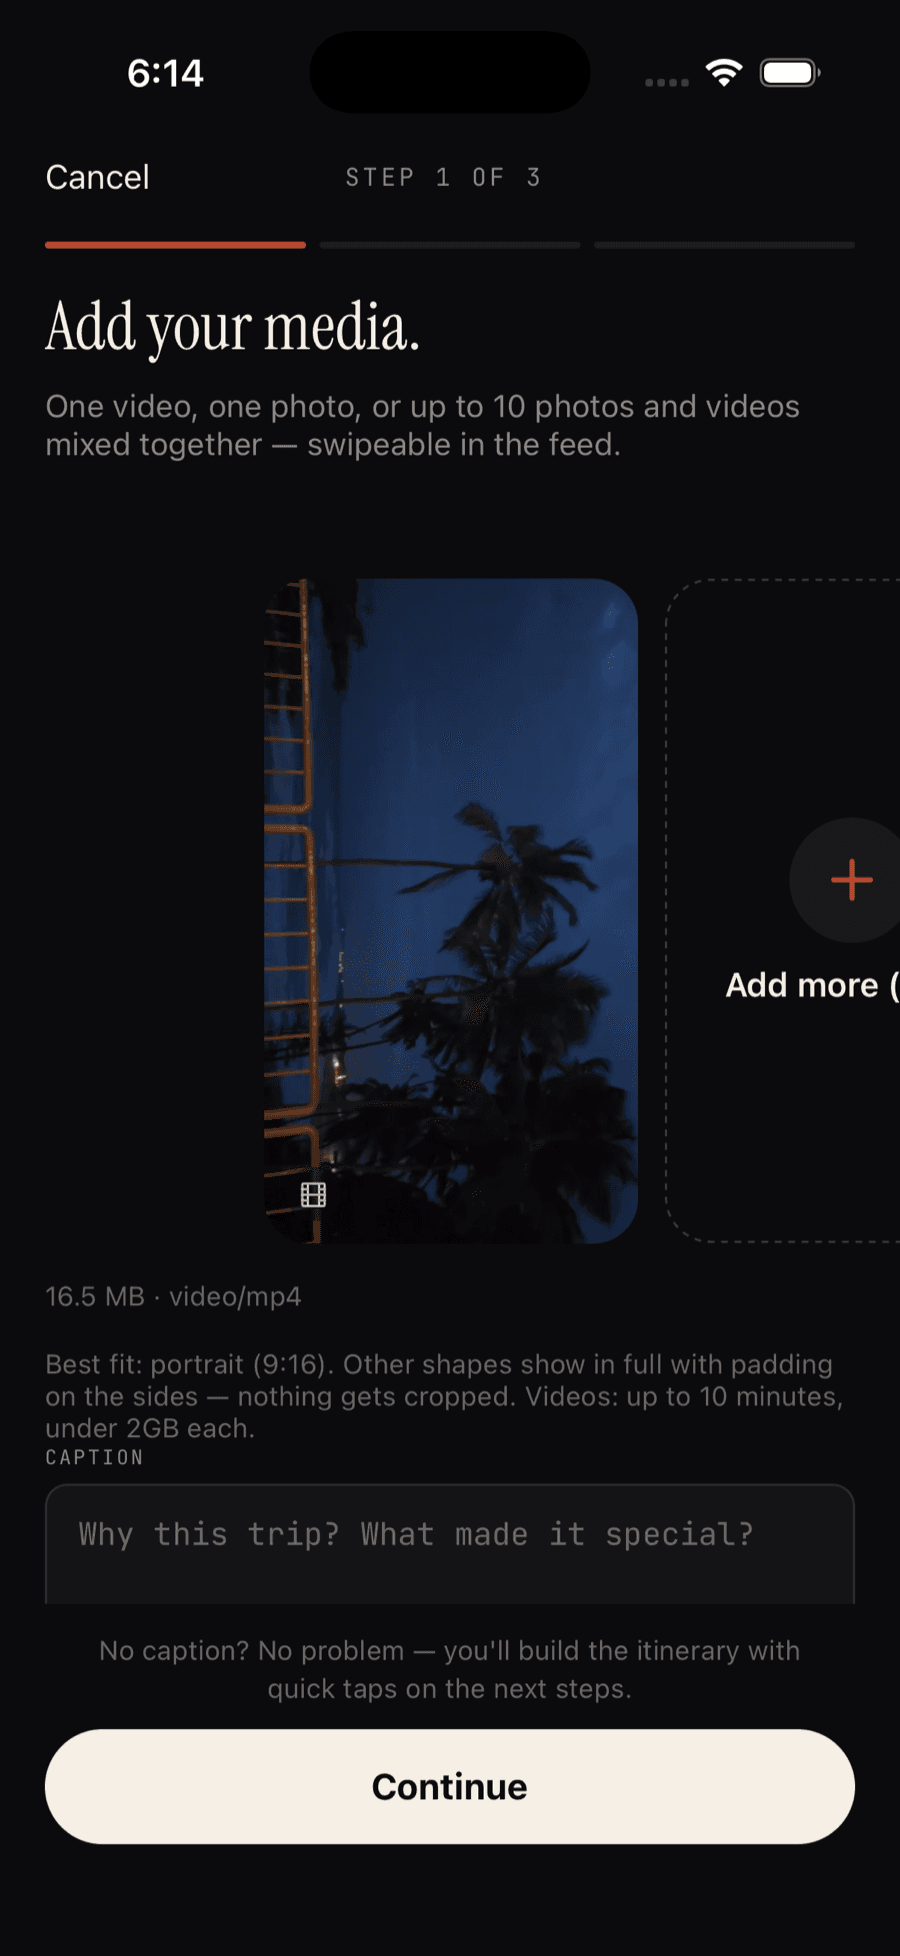
Step 1 of 3: add your media
Choose from your library — one video, one photo, or up to 10 mixed together for travelers to swipe through. Add a caption if you've got one, but it's not required: you'll build out the actual story on the next two steps anyway.
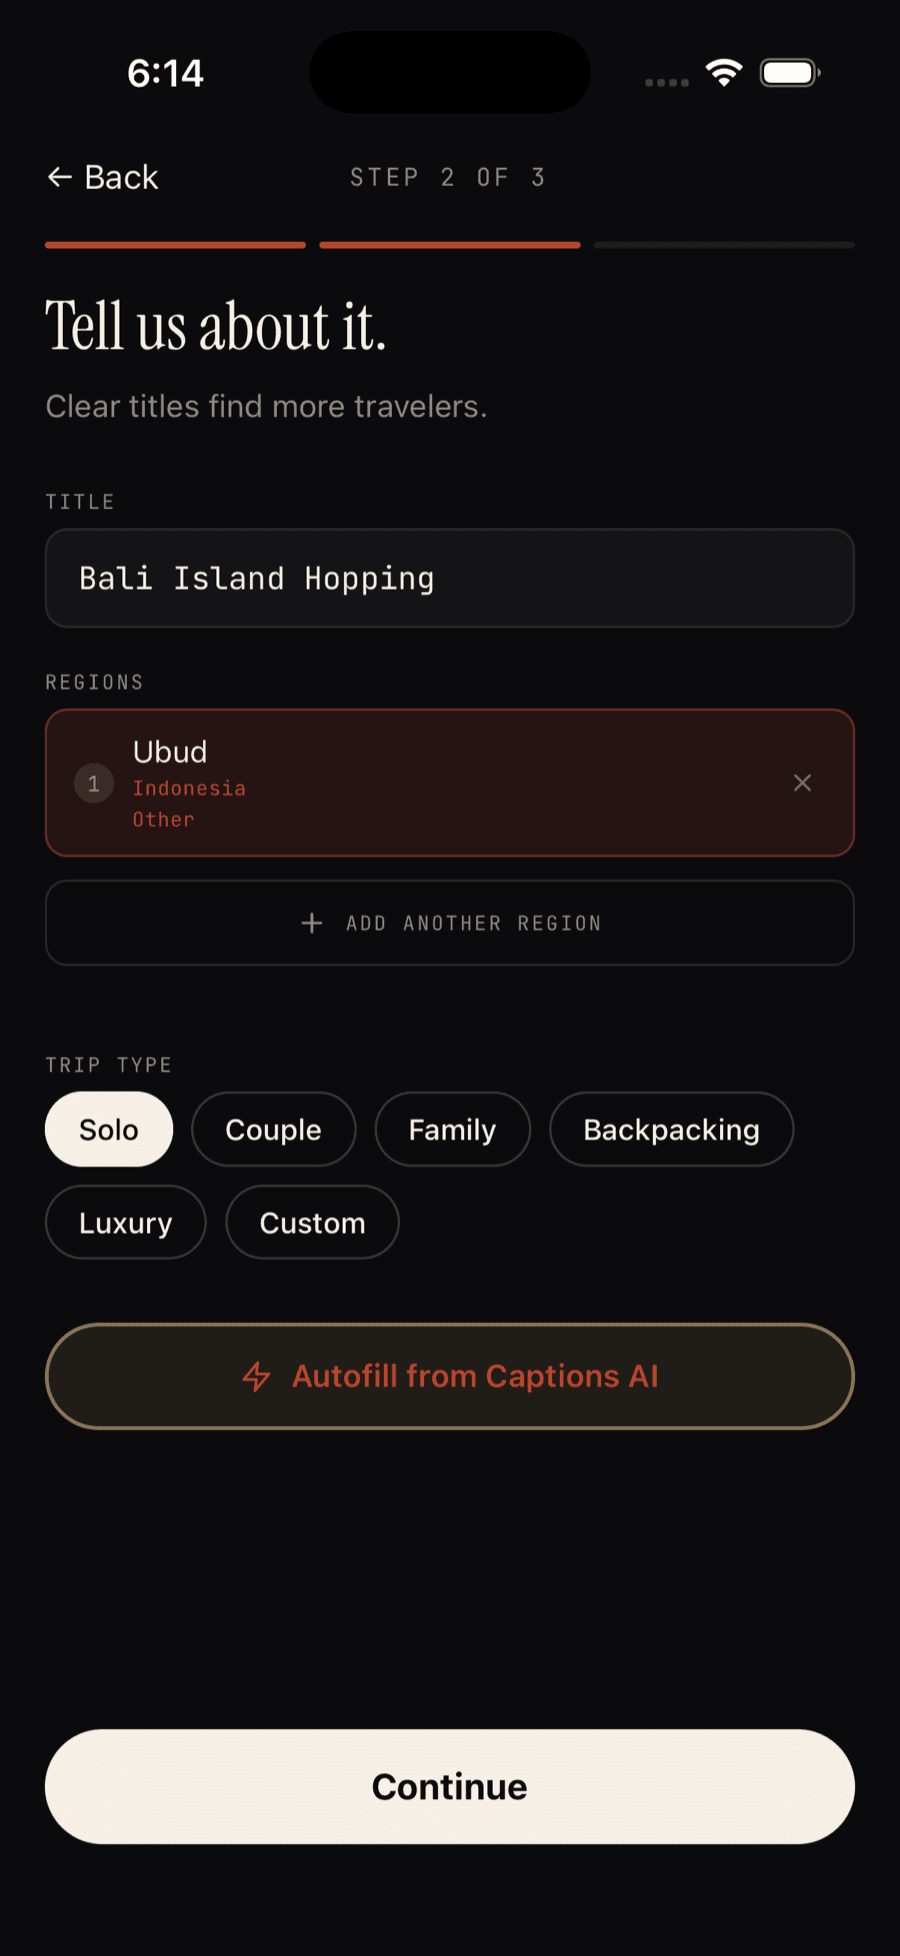
Step 2 of 3: tell us about it
A title, the region the trip covers, and a trip type — Solo, Couple, Family, Backpacking, Luxury, or Custom for anything else. Clear titles are what surface in search, so this is worth a real sentence, not a placeholder. There's also a shortcut here: Autofill from Captions AI reads whatever you wrote in your caption and fills this step in for you.
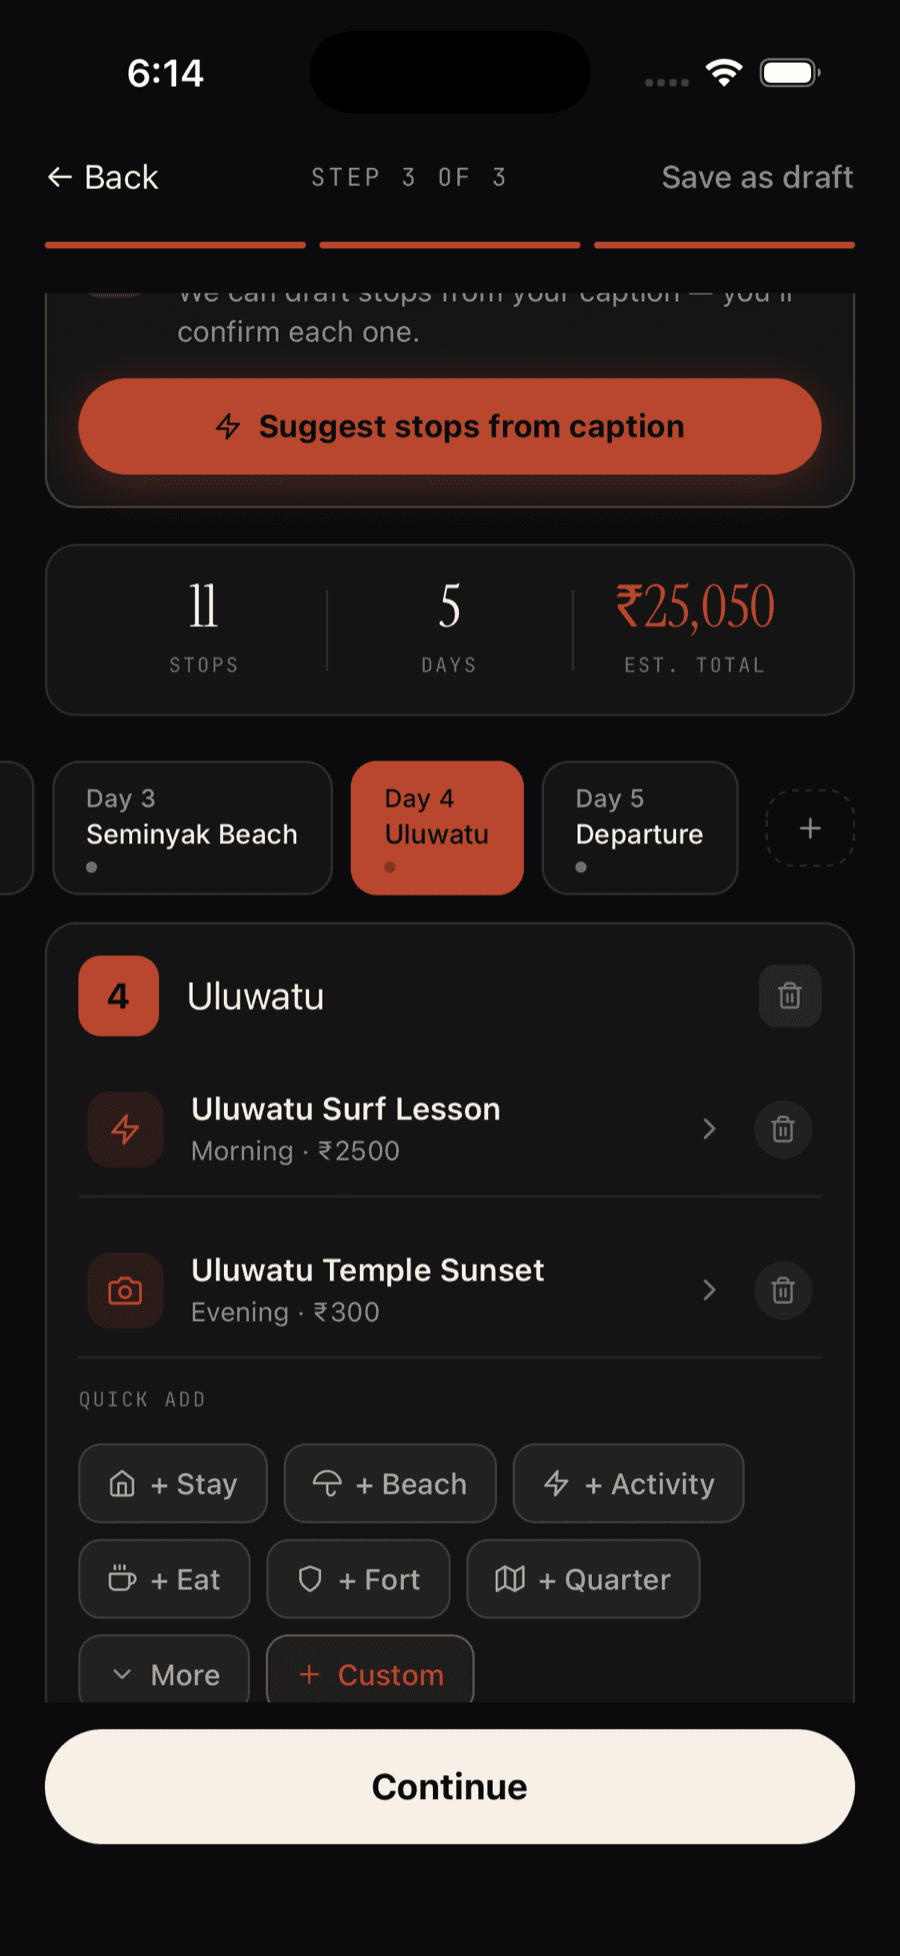
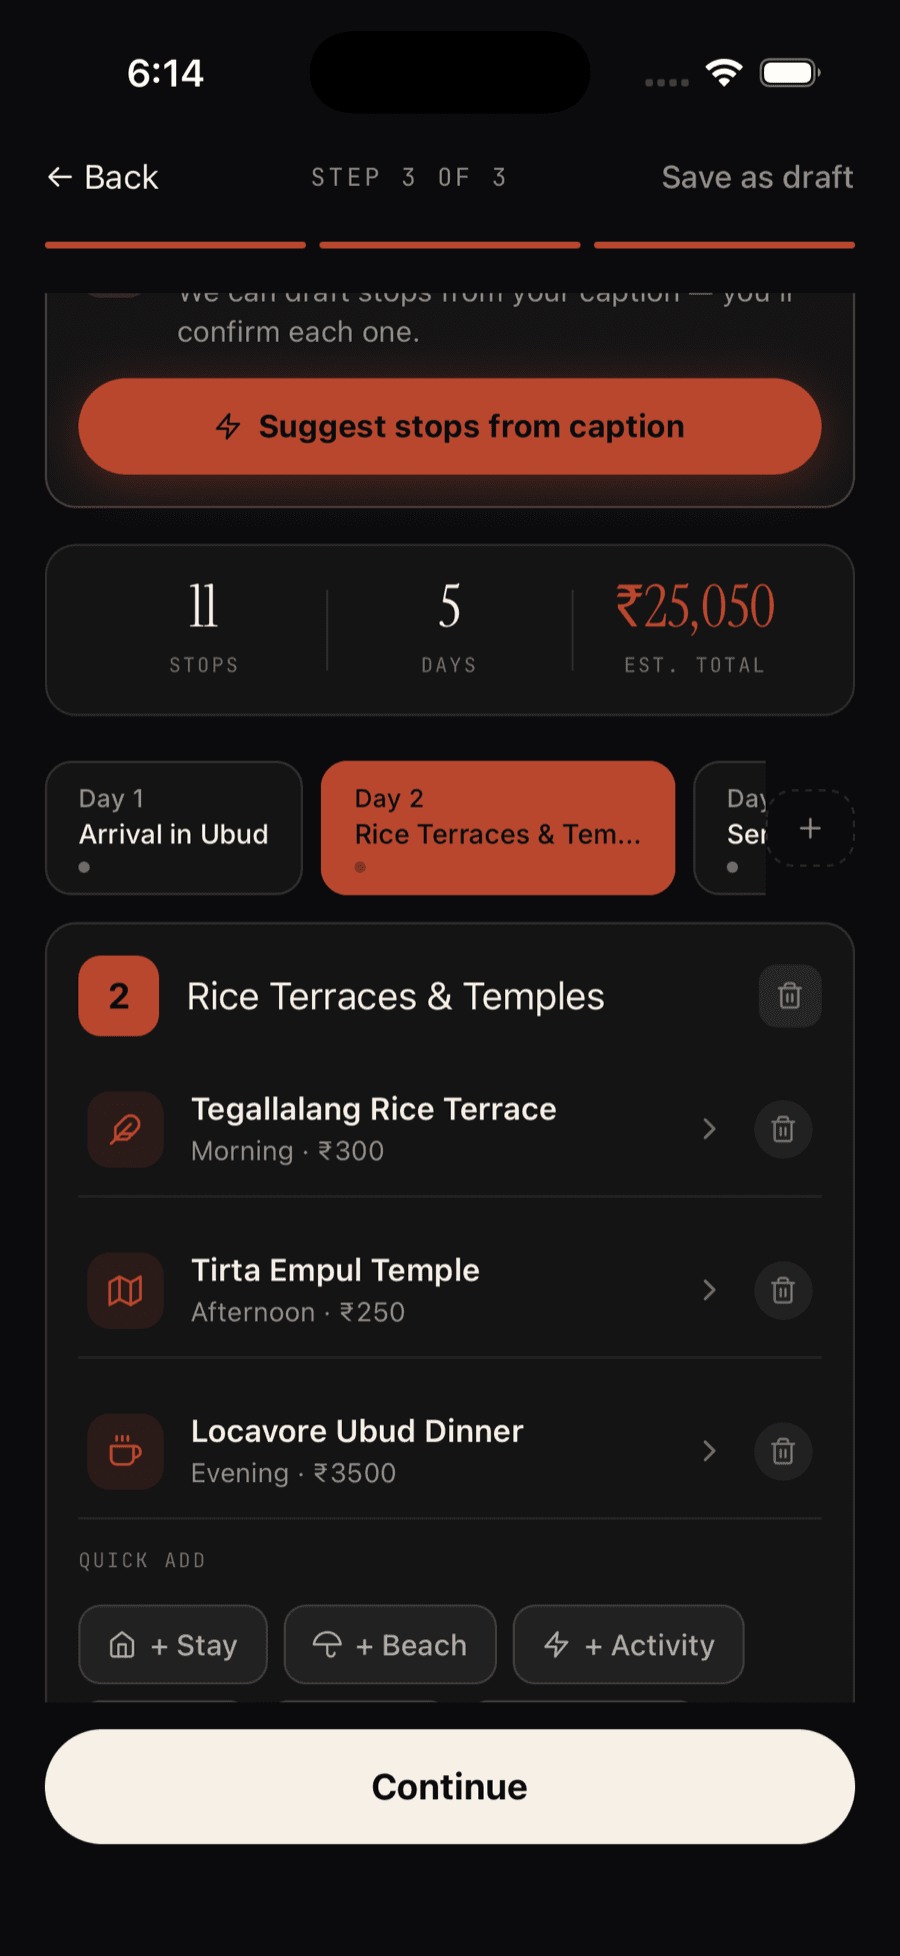
Step 3 of 3: add the day-by-day itinerary
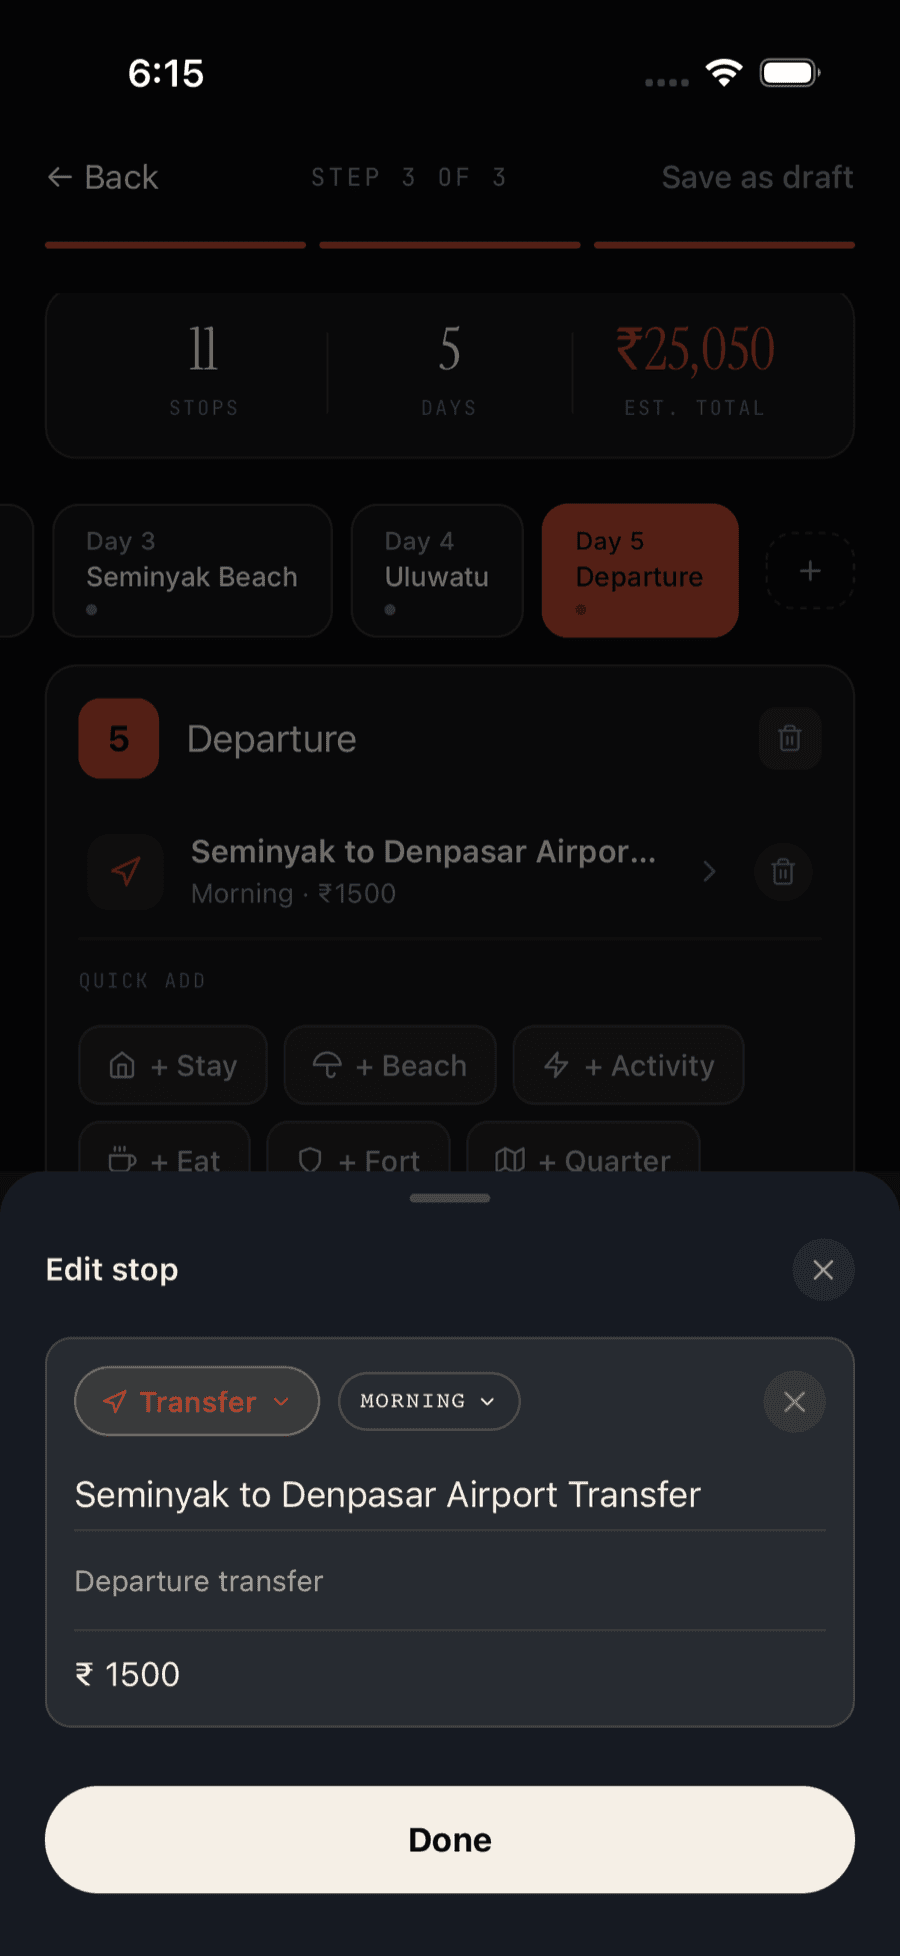
Break the journey into days, and each day into stops: where you went, where you stayed, what you did. This is the part that turns a post into something someone else can actually follow, not just watch.
There's a head start here too — Suggest stops from caption drafts stops from what you already wrote, and you confirm or edit each one. Otherwise, add stops yourself with the Quick Add row: Stay, Beach, Activity, Eat, Fort, Quarter, more categories under More, or + Custom for anything that doesn't fit a preset.
Real costs, real stays
Tap any stop to open it: pick a category, a time of day, name the place, add a line on why it's worth it, and fill in what you actually paid — in exact rupees, not a rounded guess, or Free when it is. Name the guesthouse, not "a place we found." Costs will drift over time as prices change, but they start as a real reference point, not a stock estimate.
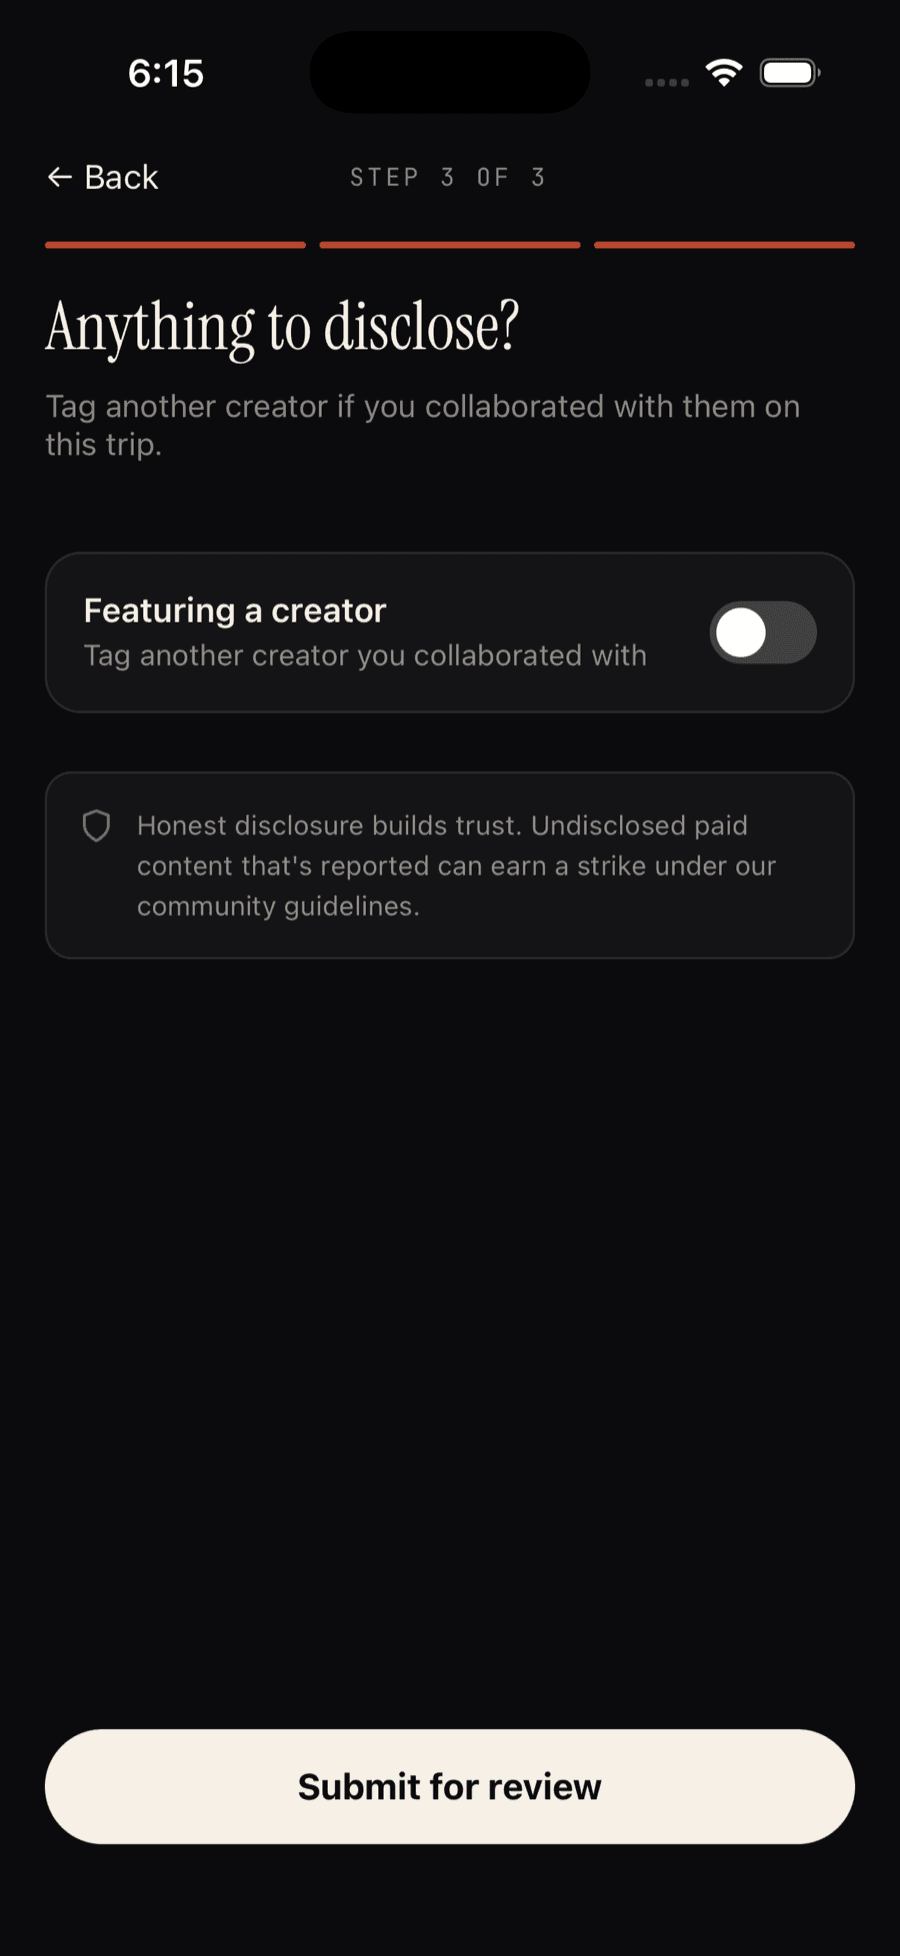
Anything to disclose?
One last screen before Submit for review: tag another creator if you collaborated with them on the trip. That's the whole step for a private, Traveler-level account.
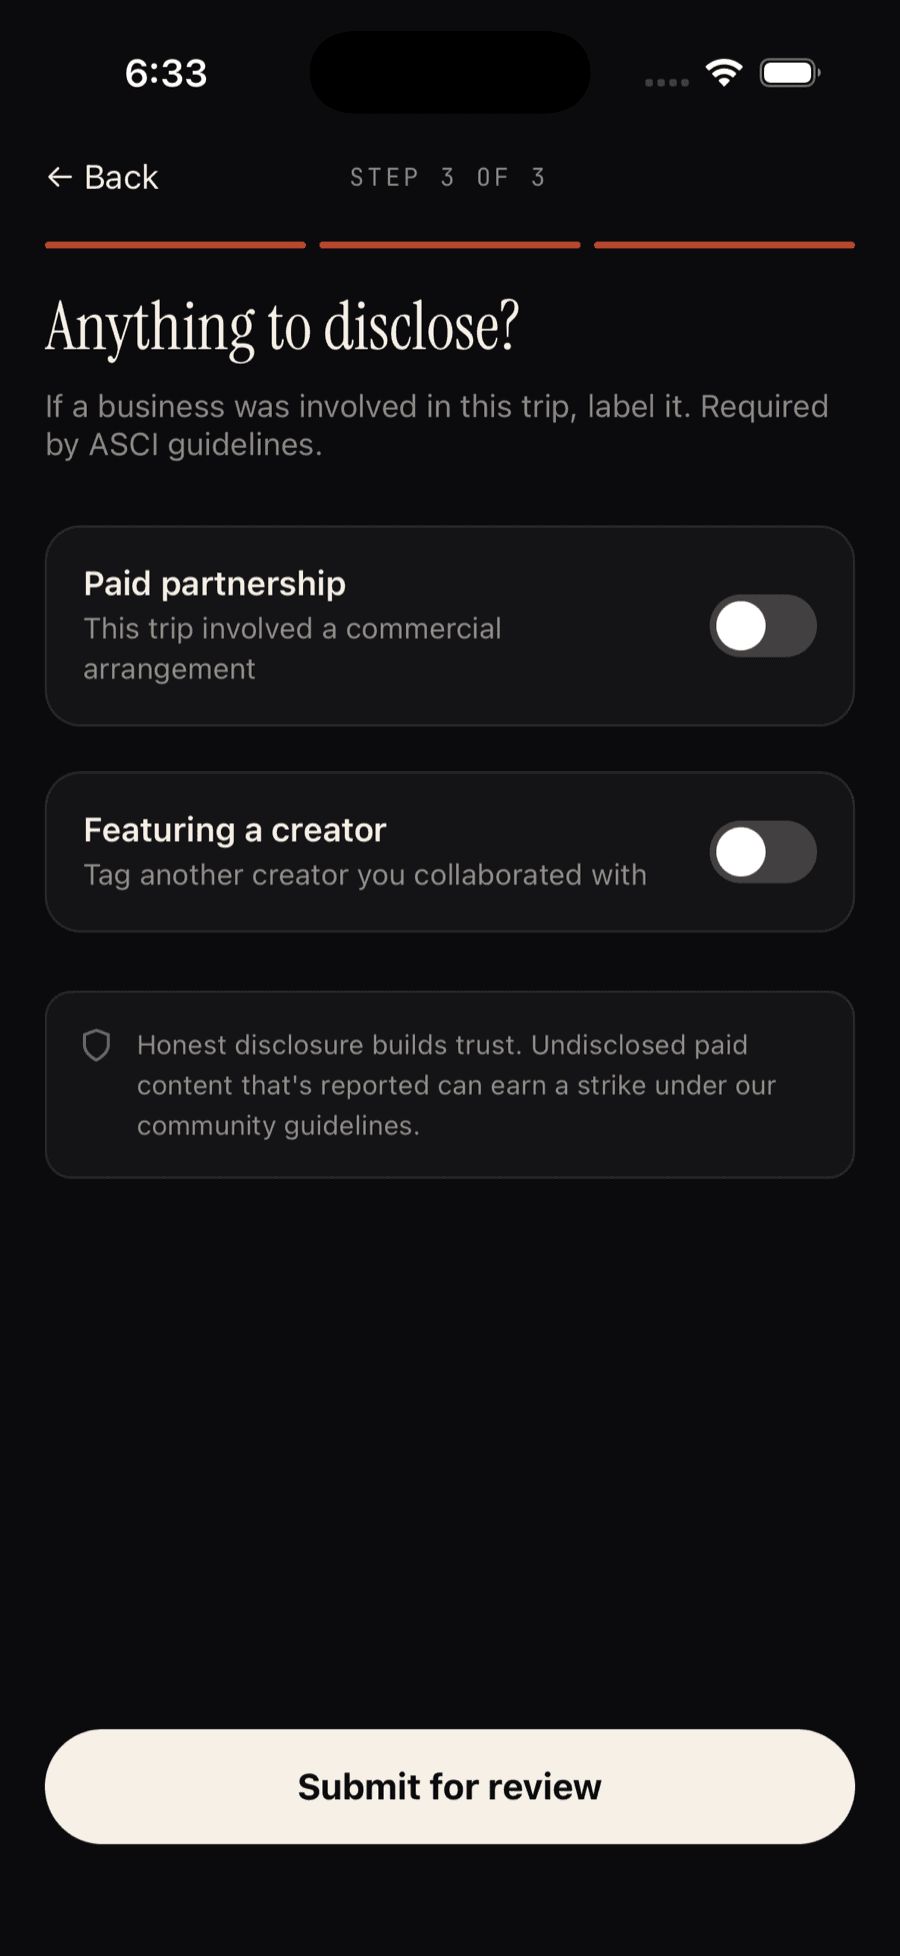
Public, Explorer accounts see one more toggle here — Paid partnership, for when a business was involved in the trip. It's required by ASCI guidelines whenever that's true, not optional dressing: undisclosed paid content that gets reported can earn a strike under the community guidelines. It's part of what comes with going public in the first place — Explorer accounts are the ones eligible for paid brand and business deals, so they're the ones who need a way to declare one.
Publish it
Not ready yet? Save as draft sits right at the top of the itinerary step, so you can come back and finish later. When you are ready, submit — once it passes review for authenticity, it's live in the Discover feed, for every traveler, not a follower-gated audience. From there it's searchable by state, budget, and trip type from the Search tab, and it stays attached to your profile for anyone who follows you afterward.
Mark a paid partnership and it shows up right on the card in the feed, next to whoever you tagged — travelers see exactly what they're looking at before they tap in.